
While developing mobile apps, I find that hosting the respective ipa and apk files on my server is easier than emailing the files around to testers, clients, etc. This tutorial covers how to create a basic version of TestFlight – the popular over-the-air distribution platform for iOS apps.
This tutorial lets you distribute your iOS and Android apps without going through the Apple App Store or Google Play Stores, but there are some restrictions. For iOS, you need to know the id of the device you want to install the app on beforehand – this is known as the UDID. There are plenty of apps on the Apple App Store to get the UDID from a device. Your application must be compiled using the UDIDs saved in the Provision File – otherwise, your client, users, testers, etc. won’t be able to download or install the app.
Detecting the OS and Redirection
To start with, we need to create a PHP (or similar) file that will direct the user to the iOS or Android version of the app. This can be achieved by simply checking the User Agent of the browser and redirecting the user to the correct place. The code for the index.php file can be found below.
Android App Download
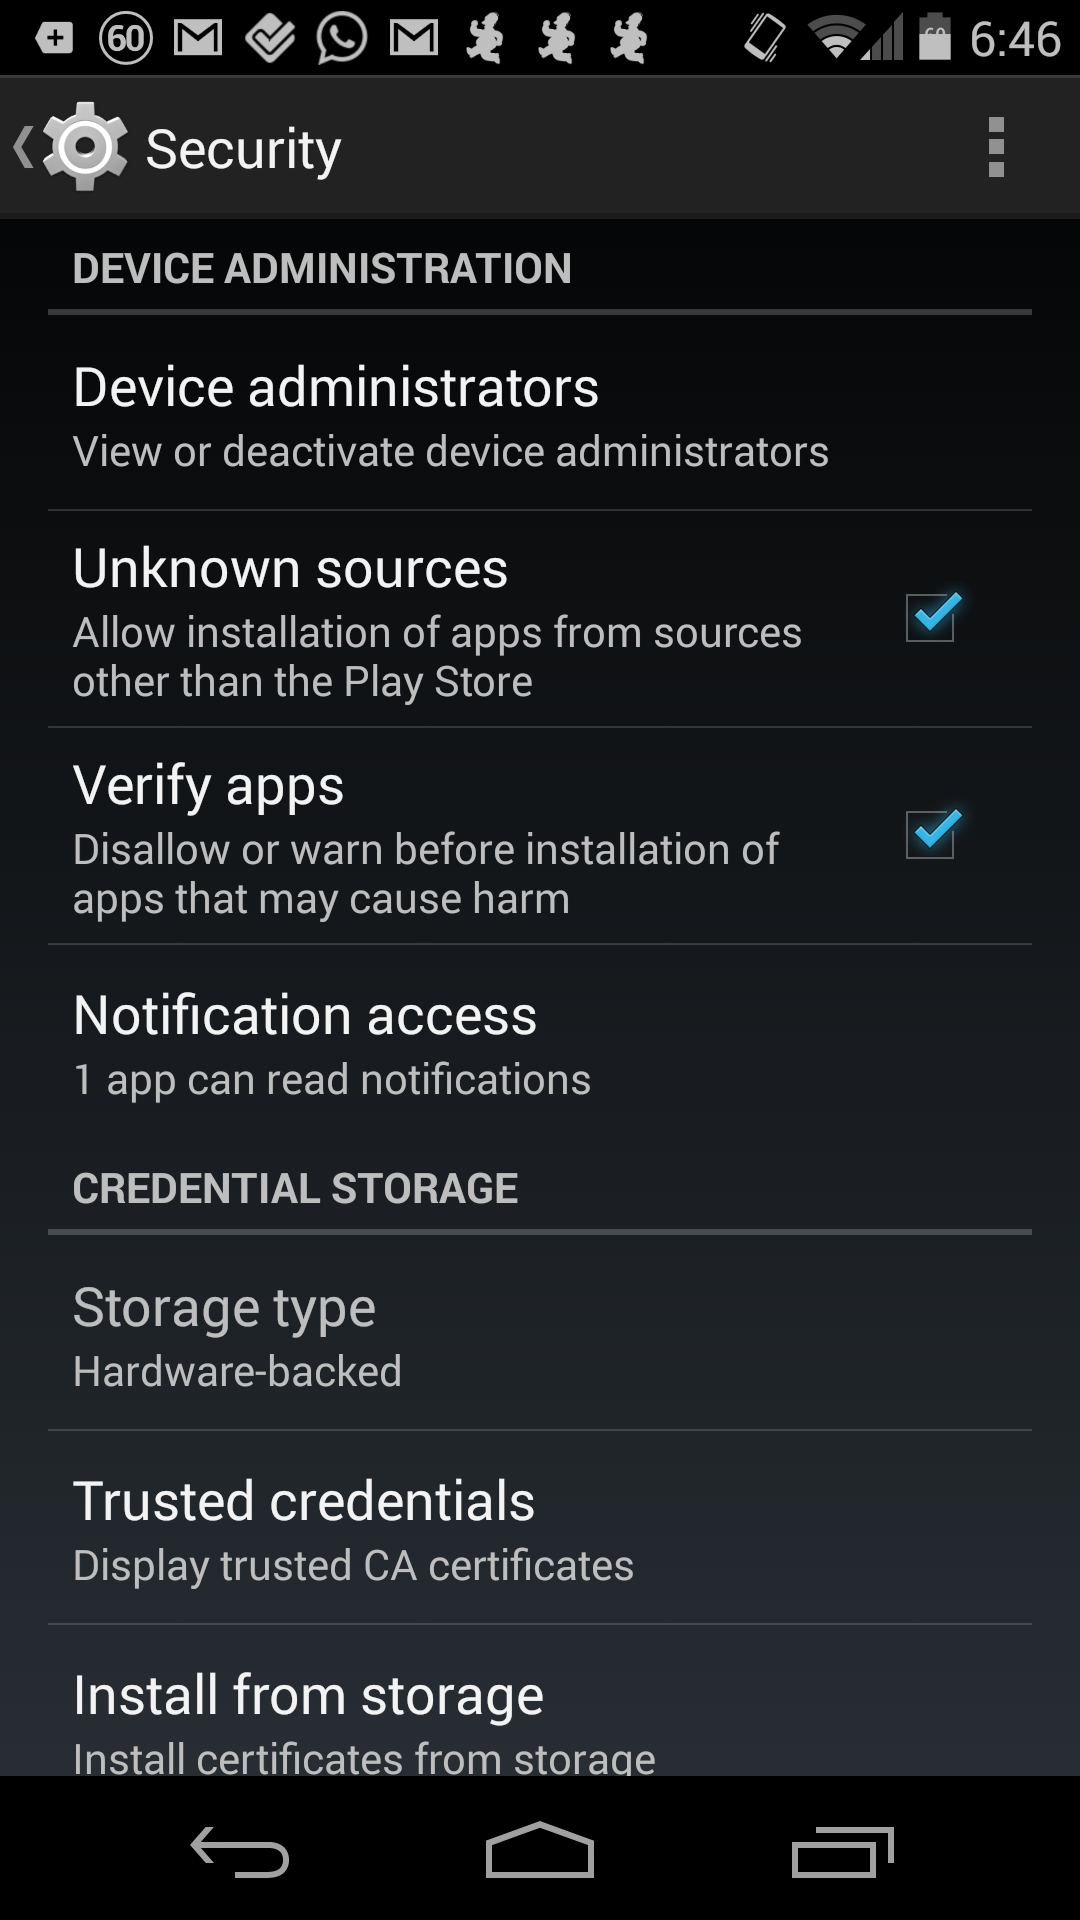
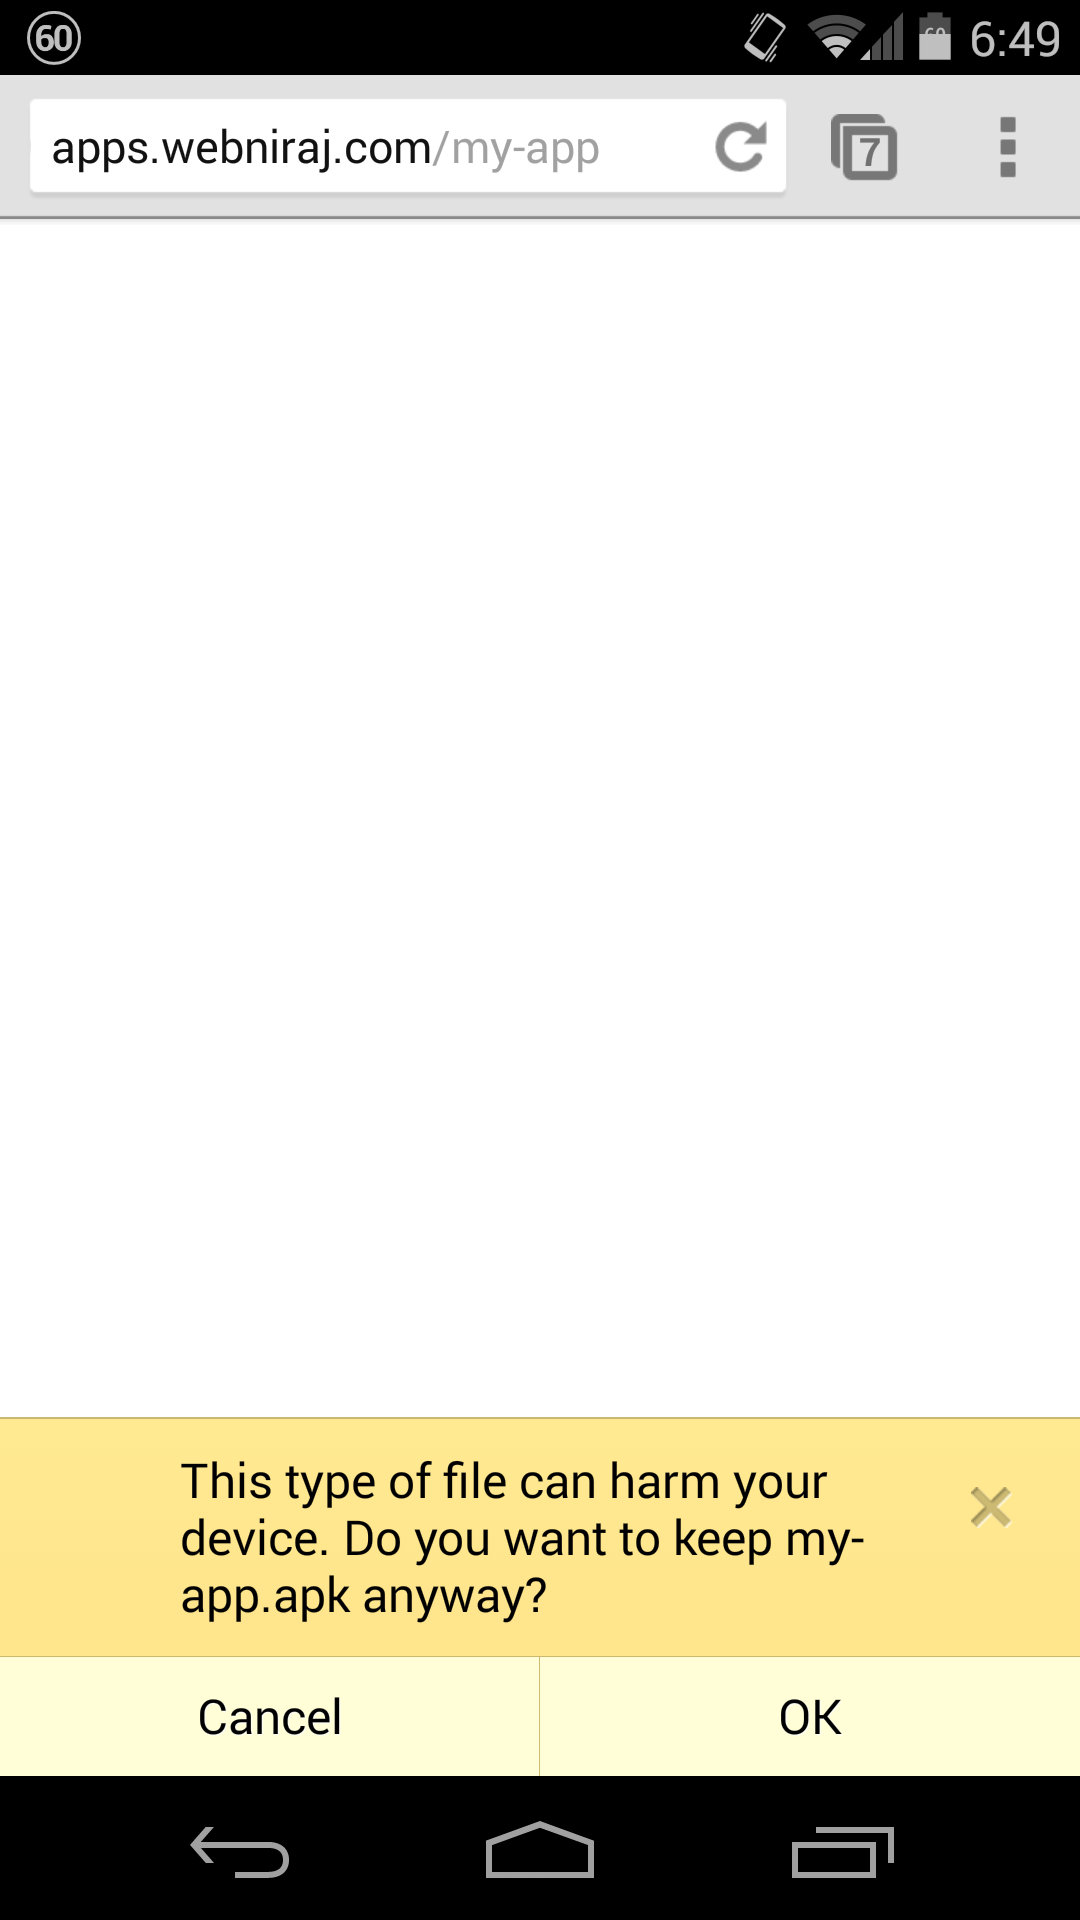
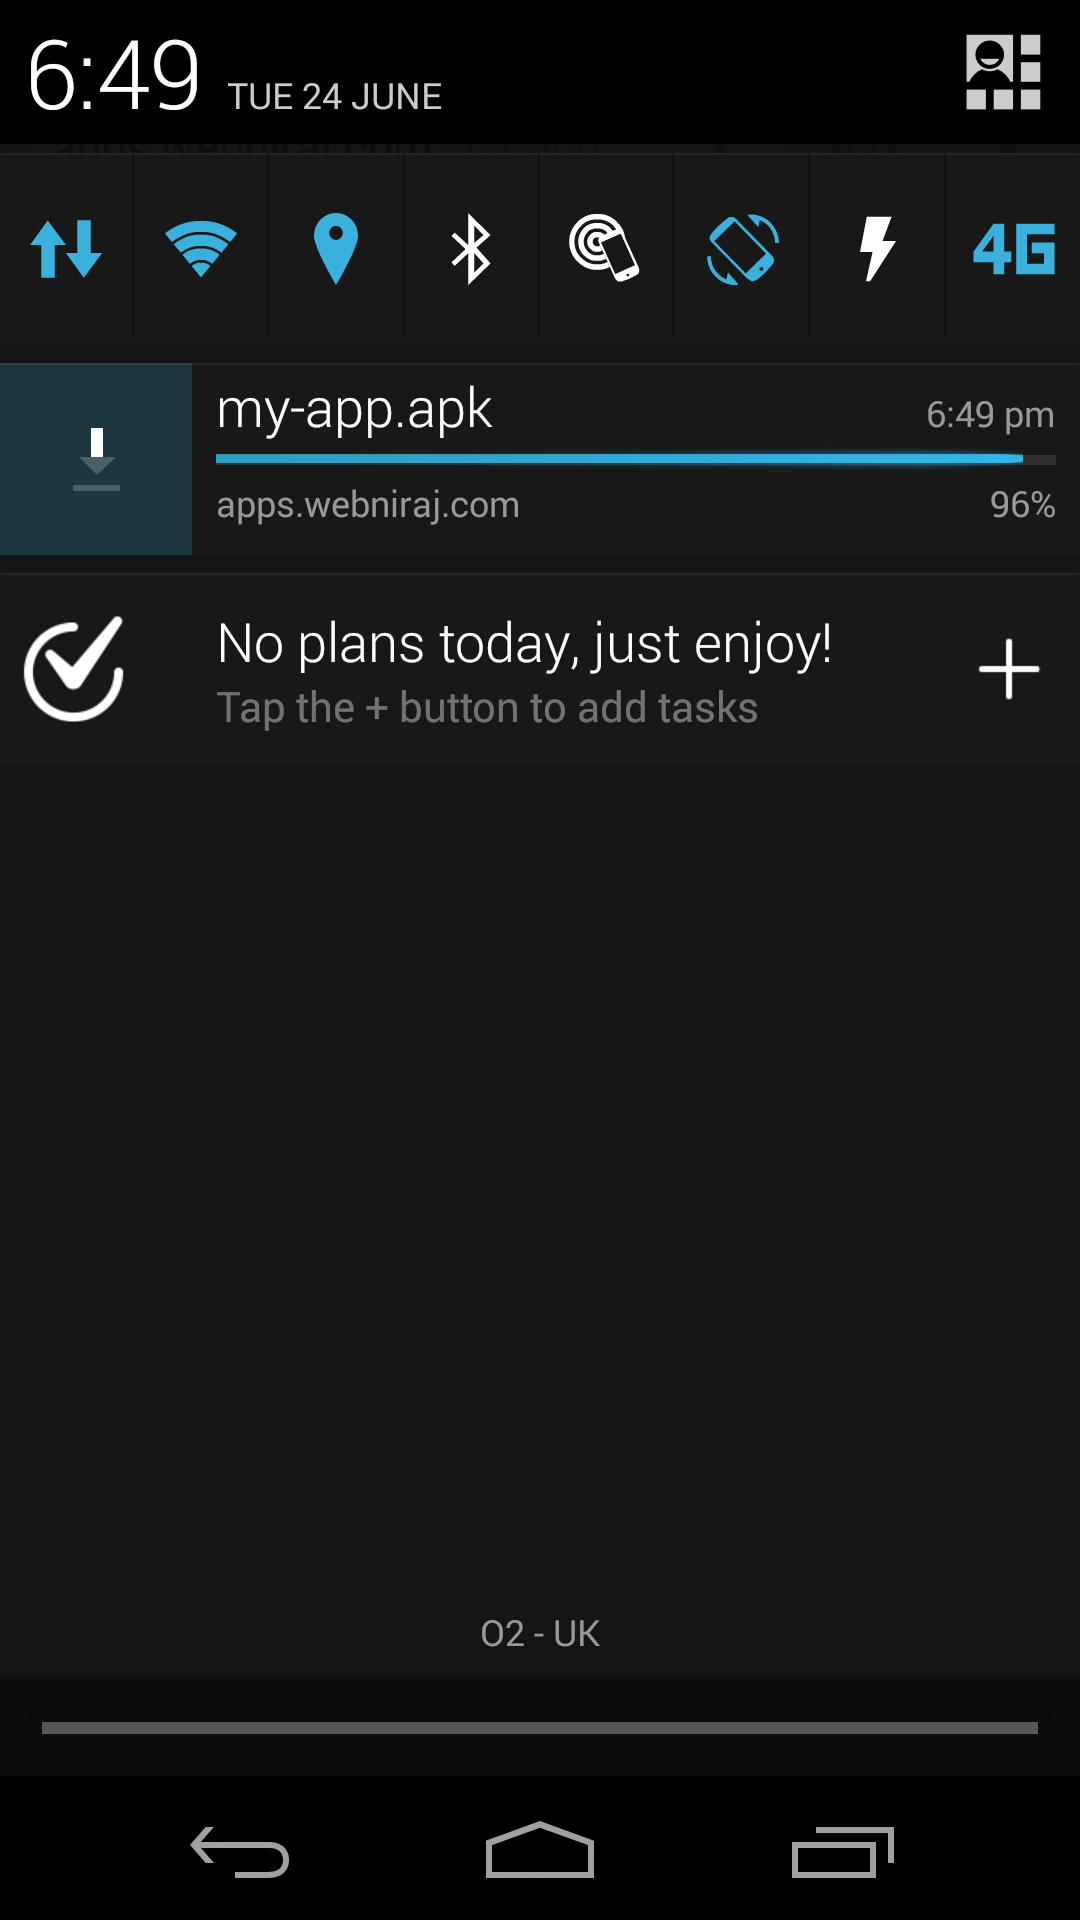
For Android users, we simply need to redirect them to the apk file. The browser will let the user download and install the package, providing they have allowed installation of apps from “Unknown sources” (see Settings > Security > Device Administration on your Android device for details).
iOS App Download
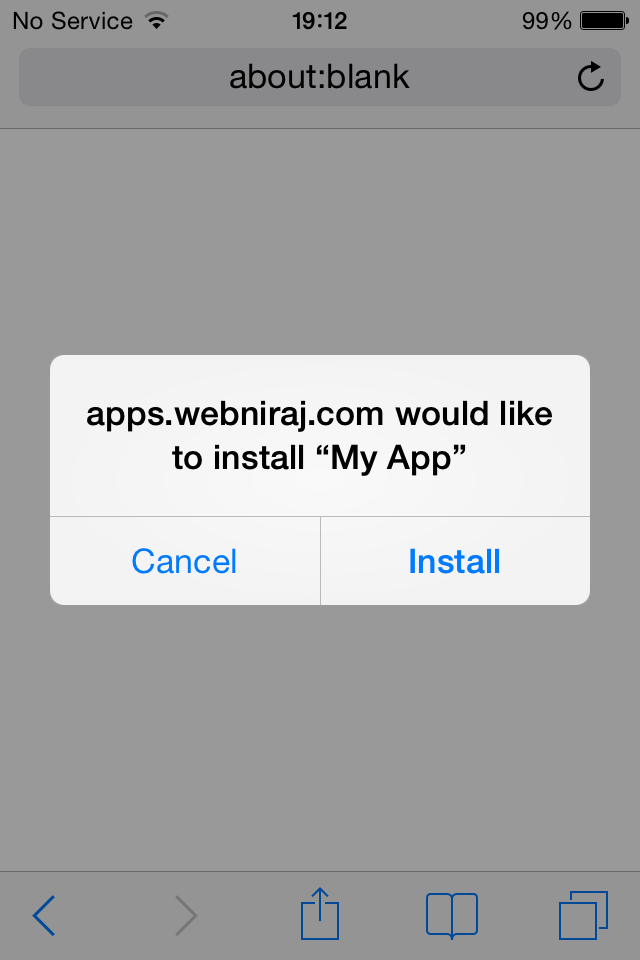
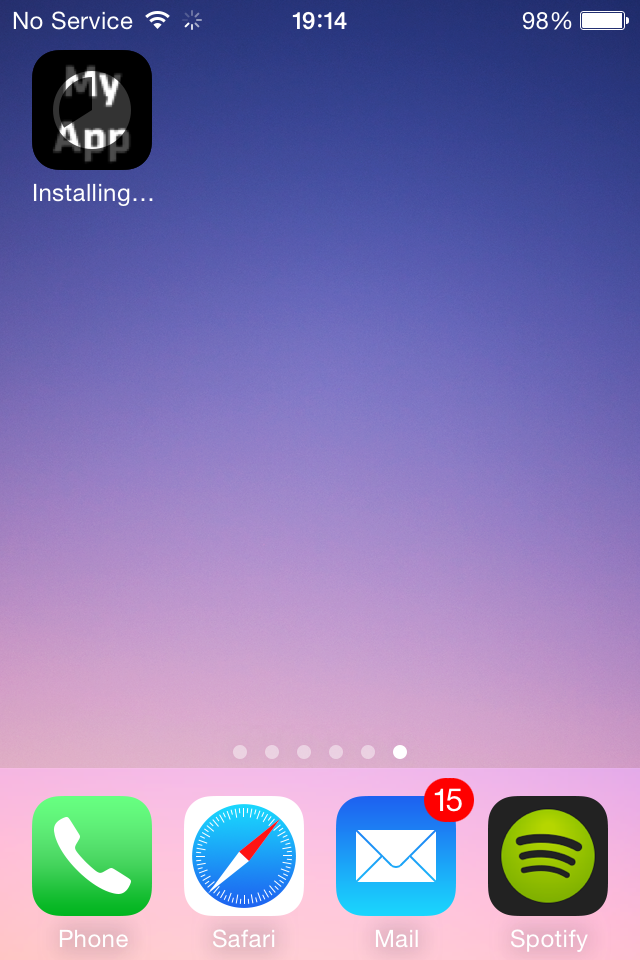
Download an iOS app to a device is slightly more complicated than Android. You first need to get the device UDID from any devices you want to test your application on. This means getting them to use iTunes (or other means) to find their device UDID. Once you have the UDIDs, you need to add these to your Provisioning Portal and recompile your app using the updated Provisioning Profile.
The new ipa file you compile will be used to deploy the app to clients, testers etc. We’ve already taken care of redirecting to the iOS version in the PHP code, but we now need to create the plist file which has information about your app in it. You can see my example plist file below.
The plist should contain the following:
- software-package – url to the ipa file
- display-image – url to icon file (54 x 54)
- full-size-image – url to large image file (512 x 512)
- bundle-identifier – your application bundle ID
- bundle-version – app version number
- subtitle – subtitle for your app
- title – Name of your application
Once you have edited the plist file, upload everything to your server. Then, all you need to do is provide users, clients, testers, etc, a link to the folder that hosts all the above files.
Updating Your Applications
When you have a new build of your application to send to users / clients / testers, all you have to do is replace the existing ipa and apk files on your server with the new version. As long as the same certificates / credentials are used to sign the applications, the end-user will be able to overwrite the existing application on their device.
If installation fails, the previous application may need to be deleted before the new one can be installed. If the fails to install on iOS, you need to double check that the device was provisioned correctly via the Provisioning Portal, and that you are using the correct Provisioning Profile when compiling the app.
It is also recommended that your App is served over HTTPS. Some versions of iOS won’t allow the application to be installed unless it’s loaded over HTTPS. To achieve this, make sure all the URLs in the plist are using HTTPS.
The Code
Download
To make it easier for you to get started, you can download everything you need from here. The zip file contains the index.php file, my-app.plist file and the two app icons required by iOS.
Screenshots
If you encounter any issues, please leave a comment below with any details you can provide. This is a tried and tested method that I’ve perfected over many applications. A iOS developer account is required to compile applications for devices.