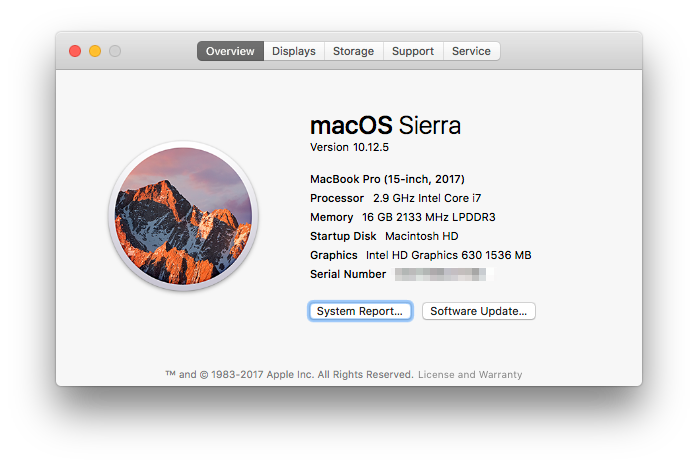
This week, I bought myself a brand new 2017 15″ MacBook Pro, upgrading from an early 2013 15″ MacBook Pro (with Retina). Moving over to the new laptop was quite easy using the Apple Migration Tool and a couple of cables and adapters (connecting old MacBook directly to new MacBook). If you’re thinking of doing the same, here is the process I followed.
What’s Required
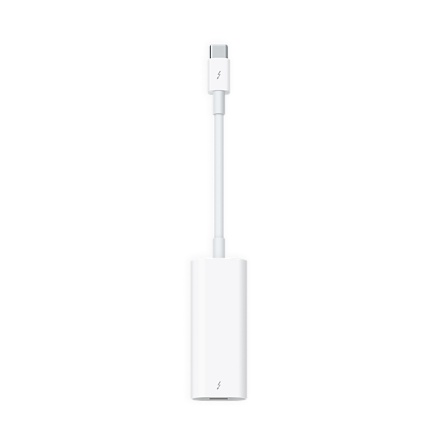
- Thunderbolt 2 to USB-C / Thunderbold 3 Adapter (MMEL2ZM)
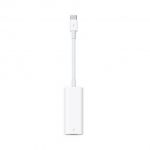
This was required for my setup as the old MacBook didn’t have a USB-C connection. This will be the case for most people, unless you’re upgrading from the 2016 MacBooks equipped with USB-C – in which case you just need a USB-C to USB-C cable. - Apple Thunderbolt Cable (MD861ZM)
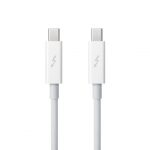
I used a 0.5m cable I bought a few years ago. It seems that Apple only sells the 2m ones now. This was the fastest cable supported (USB 3.0 isn’t as quick as Thunderbold).
The Process
1. Target Disk Mode
The first step was to put my old MacBook into target disk mode. This can be done by turning off the MacBook, then turning it on again, while holding down the T key. If successful, you will see a screensaver-like screen with a Thunderbolt icon. This is all you need to do on the old MacBook.
2. Connect the Adapter and Cable
Then, before turning on the new MacBook for the first time, I connected:
- the USB-C side of the Thunderbolt 2 to USB-C adapter to the new MacBook Pro
- the Thunderbolt cable to the Thunderbolt 2 end of the adapter
- the other end of the Thunderbolt cable to the old MacBook’s Thunderbolt port
3. Starting the Migration
Now it’s time to turn on the new MacBook. After the device turns on, you will be taken through a setup wizard. Make sure you select the correct language, keyboard settings and connect to a Wi-fi network (this step is especially important). One of the setup screens will ask you if you want to migrate.
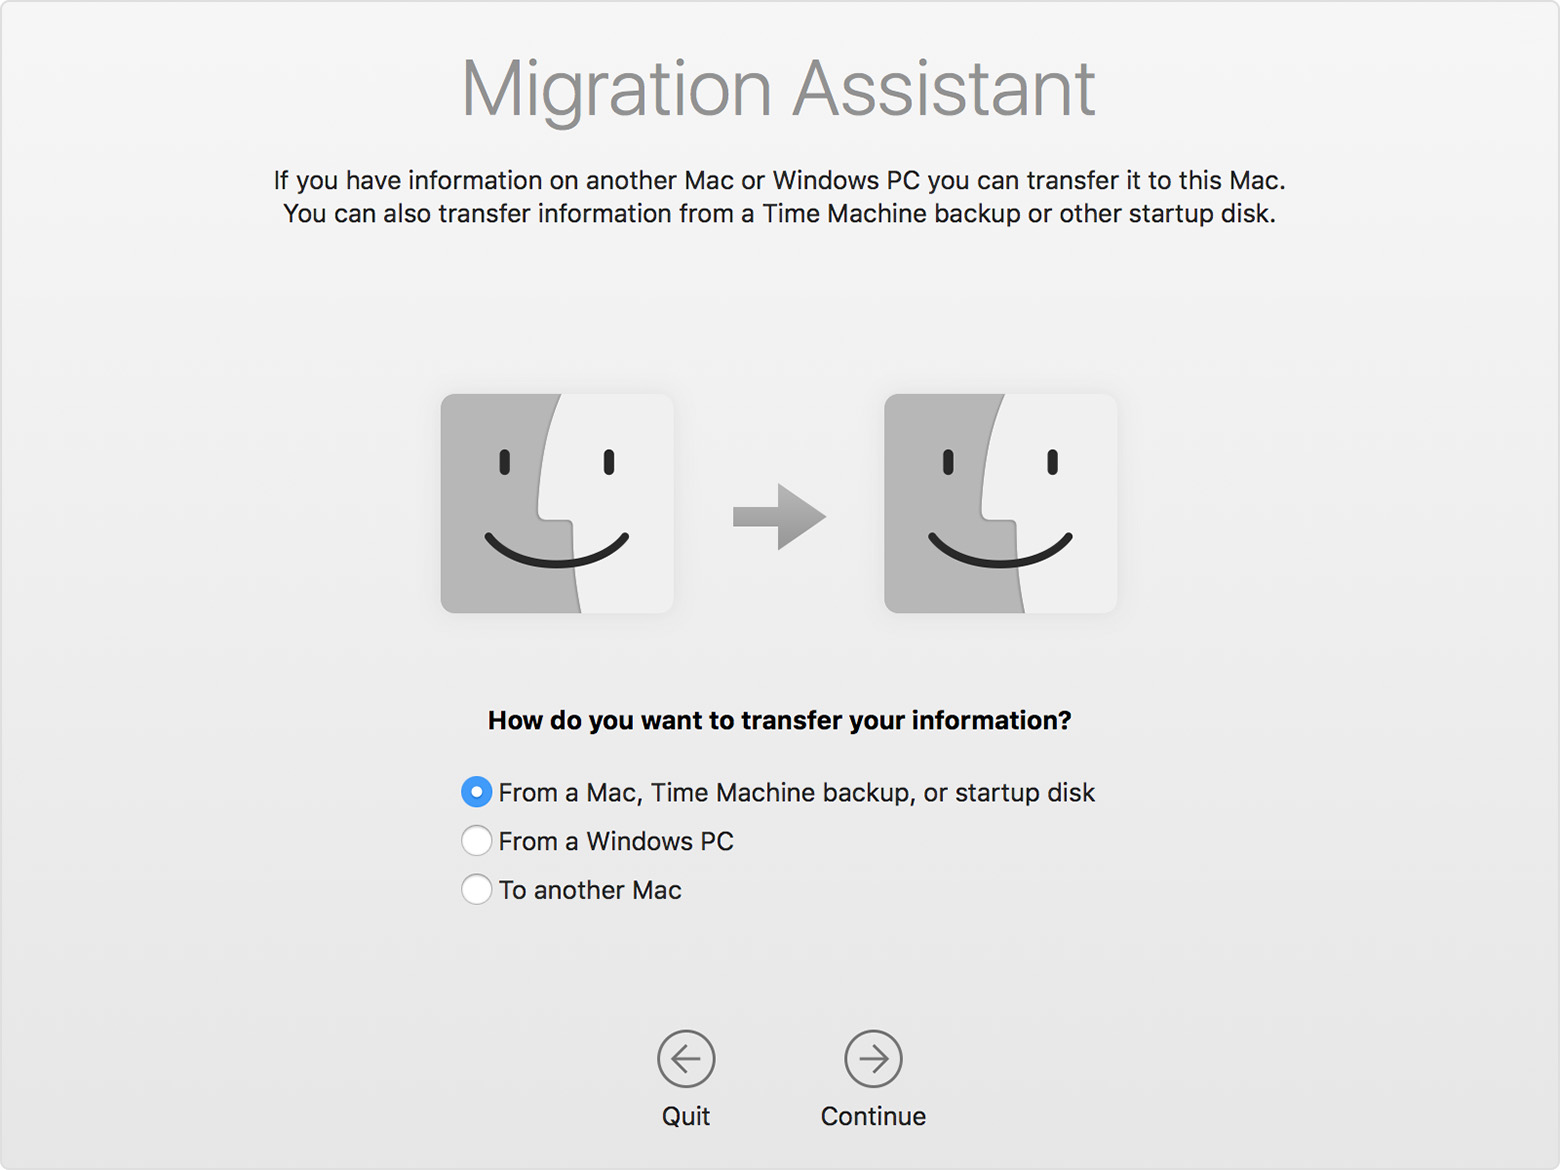
On this screen, select the first option “From a Mac…”. This option will pickup the connected MacBook as a hard drive (a yellow disk icon). If it doesn’t show up, make sure the old MacBook is corrected correctly, and is in Target Disk mode.
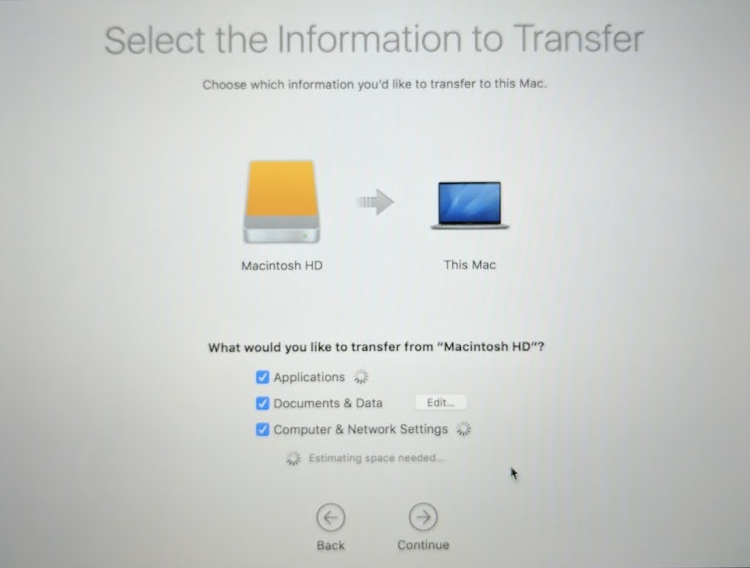
Select the hard drive (usually called “Macintosh HD”) and click “Continue”. The next few steps will allow you to select what to migrate (e.g. Applications, Documents, other Data, etc), and calculate how much space is required. The calculation stage could take several minutes to complete depending on the size of the hard drive and how much data is on there.
Once it’s done calculating, click “Continue” again. You will be taken though a few more settings, including:
- downloading the latest version of iTunes – this one is important and required. Internet access is required to download the latest version).
- setting up encryption (optional)
- signing into iCloud (required Internet, but this step is optional)
Once the latest version of iTunes have been downloaded and installed, the wizard should start transferring your information across. Depending on what speed is achieved, it could take anywhere between a hour to several hours to transfer all your data across. My old MacBook Pro had a 512 GB hard drive, and transfer took roughly 2 hours to complete at an average of 120 MB/s.
Once the data is migrated, you’re done with the old MacBook. It’s safe to power off the device and disconnect the adapter / cables.
4. Completing Setup of the New MacBook
You new MacBook may restart several times after the migration process while it sets up your applications and registers the transferred files. If all goes well, you’ll be prompted to login / boot straight into macOS. You’re now ready to start using your new MacBook (after checking to make sure all your migrated applications work as intended).
For me at least, I encountered an installation error after migration had completed:
“A critical software update is required for your Mac, but an error was encountered when installing this update. Your Mac can’t be used until this update is installed.”
I was given two options: “Try Again” or “Shut Down”. I gave “Try Again” ago but it didn’t solve the issue. Fortunately, using the “Shut Down” option and then booting up the MacBook resolved the issue second time around. If this doesn’t solve the issue for you, you may need to start again by re-installing macOS or go see an Apple Genius.
5. Enjoy
If you made it this far then you’re ready to start using your new MacBook. You should probably start by visiting the App Store and checking if any other updates are required.