
There are many ways to help secure your WordPress website from hackers and other malicious users, including plugins and server configurations. But what else can you do? If you’re on a unix based server with Apache installed, you can use some basic htaccess settings to improve security further.
One of the plugins we recommend to our clients is WordFence, which can protect your site from brute-force logins, SQL injection and other attack vectors. It’s free to use, but has a premium option too. The plugin also scans your WordPress site for vulnerabilities, malware and changed files.
In addition to using plugins, I also recommend setting up some .htaccess restrictions that can prevent someone from logging into the admin section of WordPress. Why does this help make WordPress more secure? It’s because someone would need to know two different sets of login credentials to gain access to the WordPress Admin Area: (1) the username / password you will setup in Step 1 below; (2) the username / password for an Admin User on WordPress.
Note that this is only useful if you have disabled registration / login for your readers.
1. Generate a htpasswd File
Before we setup the htaccess restrictions, we first need to create some logins to use. This can be done by creating a passwd file in a secure location on your server (i.e. a location that can’t be accessed publicly).
There are many online generators out there that can assist you in this process (just google htpasswd generator). As an example, I’m creating a user called test with password test. The htpasswd file would look like (one entry per line):
test:$apr1$PcbuqVnj$HKcYCOl/MtEMhWy7E7AUw0
Lets assume we’ve stored this file in the location /home/niraj/htpasswd.
2. Setup the .htaccess File
If you are using “Permalinks” for your WordPress site, chances are that a .htaccess file already exists in your WordPress folder. Lets assume this is located at /home/niraj/public_html/.htaccess (where public_html is the publicly accessible root of the website).
If you edit the .htaccess file, you can add in the following lines:
Start by adding line 4 to the top of your .htaccess file – without this line, you may get an HTTP 500 error from Apache. Next, copy and paste in lines 6-11 after the existing WordPress .htaccess configuration. Remember to update the /path/to/passwd to point to your htpasswd file.
You can test the configuration by going to your WordPress site and trying to access the wp-login.php page (i.e. yoursite.com/wp-login.php). If the configuration works, you should see a popup that will ask for a username and password.
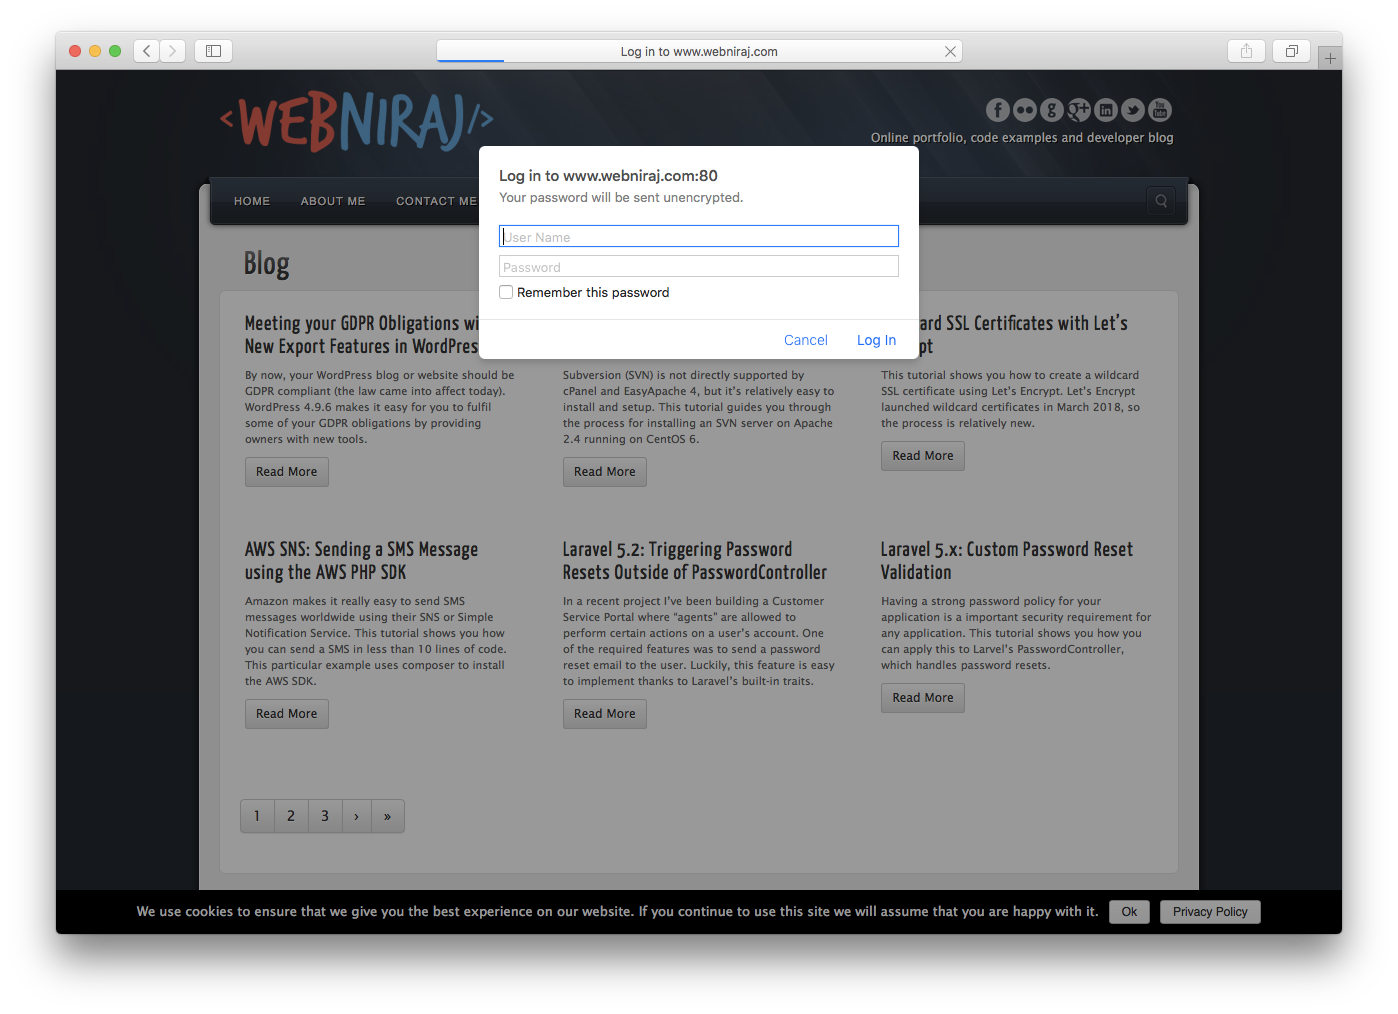
If you enter the username and password created in step 1 above, you should then see the usual WordPress login page. Some troubleshooting tips:
- If you don’t see the login page (and instead are taken to the WordPress dashboard), you may need to logout of WordPress and try again.
- If your username / password isn’t accepted, check that the path to the
htpasswdfile is correct, and that you haven’t mistyped the username or password. Note that the username and password will be case-sensitive.
3. Secure the wp-admin Directory
The final step is to secure the wp-admin directory, which contains all the files to access the WordPress Admin Area. This can be done my creating a second .htaccess file in the wp-admin directory with the following contents:
This .htaccess file password protects the entire folder` but allows access to the admin-ajax.php file which is used by WordPress and various plugins.Remember to update the /path/to/passwd to point to your htpasswd file.
You can test this second file by going to yoursite.com/wp-admin. If you’ve already entered the password when testing step 1, you won’t see the username / password popup again (you may need to clear your cache or restart your browser to see the login popup again).
4. Tips
If you have multiple users who need access to the WordPress Admin Area, you can either share the same username / password, or setup multiple users in the htpasswd file (see Step 1). Each username / password combination should be entered on a new line.
Have questions or experiencing issues? Let me know in the comments section below.