
After the New Year, I decided to purchase a newer, more powerful dedicated server from my hosting provider, but I had to manage the migration of data from my older server to the new one myself – no small task since the old server has a number of active accounts with live websites, applications and more. I was expecting the process to take days to complete, having to manually transfer each account over, update DNS settings and more, but I didn’t expect cPanel / WHM to make the process so easy.
Providing that your old and new servers both run cPanel / WHM, you can use the Account Transfer utility to easily transfer one or more accounts over quickly. Furthermore, selecting the “Express Transfer” option will also update the DNS records on the old server to point to the new server (once the account has been transferred) so you have virtually no downtime.
How it works
Using the root password for the old server, cPanel verifies that the old server is compatible with the transfer process. If the two servers run different version of cPanel / WHM, not all options will be available, but cPanel will determine this when connecting to the old server for the first time.
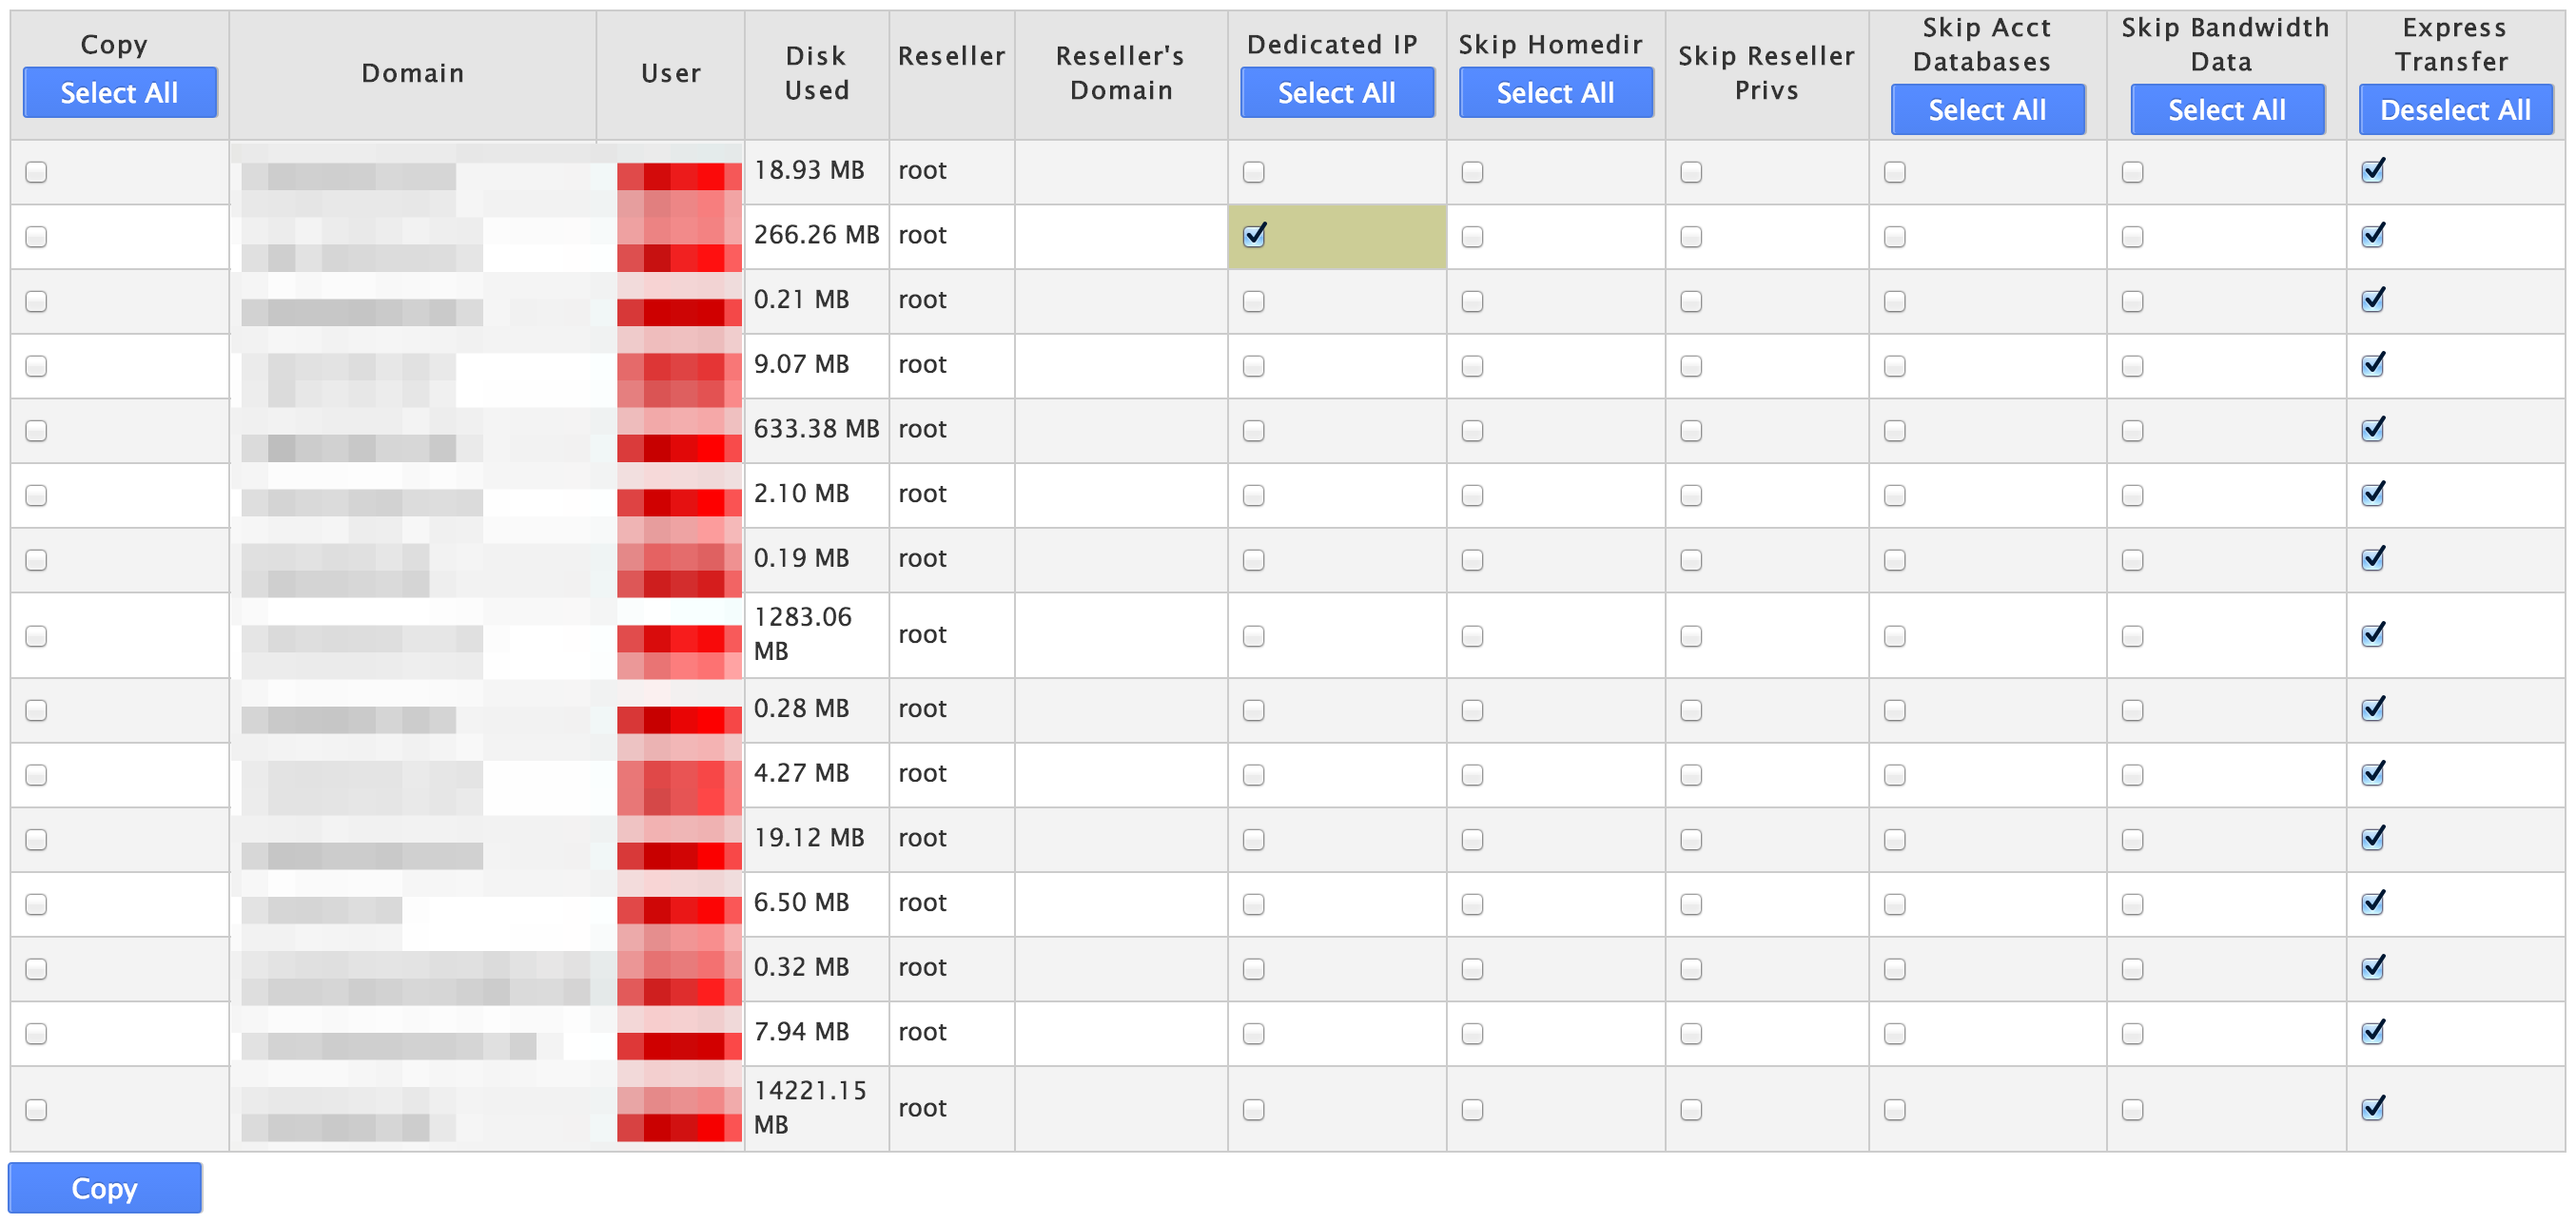
After entering your SSH details, cPanel will connect to the server and list the account it’s found. It will highlight accounts that have dedicated IP addresses, and you can enable / disable specific settings for each account.
cPanel compresses each account on the source server (home directory, databases, emails, account settings like DNS and domains) and transfers it across to the new server. If a particular account is large, the account is compressed into multiple files and sent across one at a time.
The compressed files are then unpacked on the destination server and restored. Databases, passwords, host names, subdomains etc are all restored as they were on the old server. Once transfer has successfully completed and verified, cPanel will update the source server settings to suspend the original account and update the DNS zones to point the domains and emails to the new server.
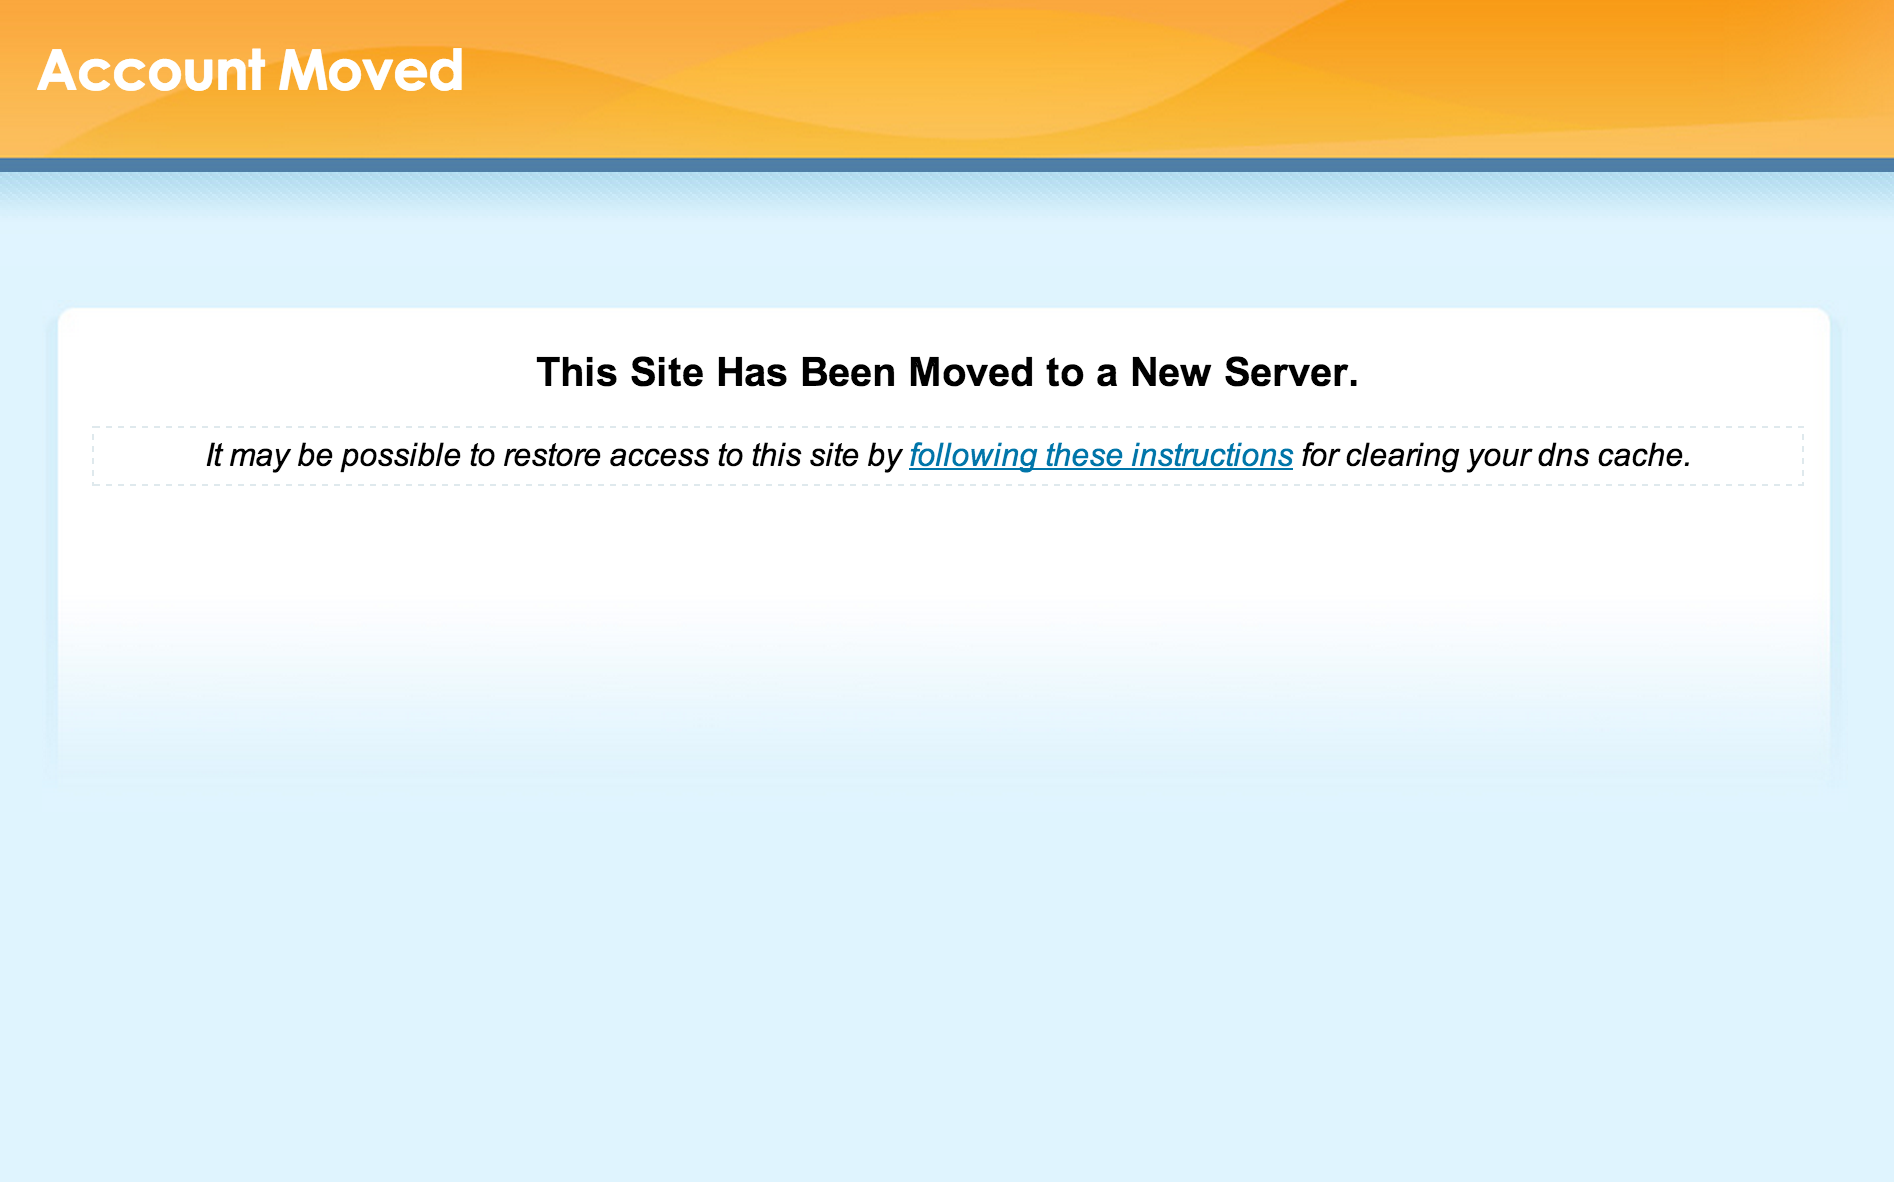
Anyone then hitting the old server will be presented with a “Website Moved” error until their DNS cache has been updated with the new server details. In most cases, the cache can be reset at the browser (e.g. using Chrome) or computer level.
Closing Down the Old Server
Once you’ve transferred all accounts and verified that they work on the new server, you’re one step closer to shutting down the old server. In my case, the nameserver had also changed so I had to update all associated domains to use the new nameservers (which can take up to 48 hours to take affect).
After updating the nameservers, I let both servers run for a few days to make sure there were no issues. Then, I shutdown the old server once I was happy that all the files were copied over and working as before. After a few more days, I requested that the server be decommissioned with the datacenter.